VI. Setting up a MIDI Controller
- Preparation
- Connection
- DAW Setup
- Drumpad controllers and MIDI sequencers
- Custom-map knobs and pads
- Syncing multiple MIDI devices
Preparation
- Use the device’s included USB cable.
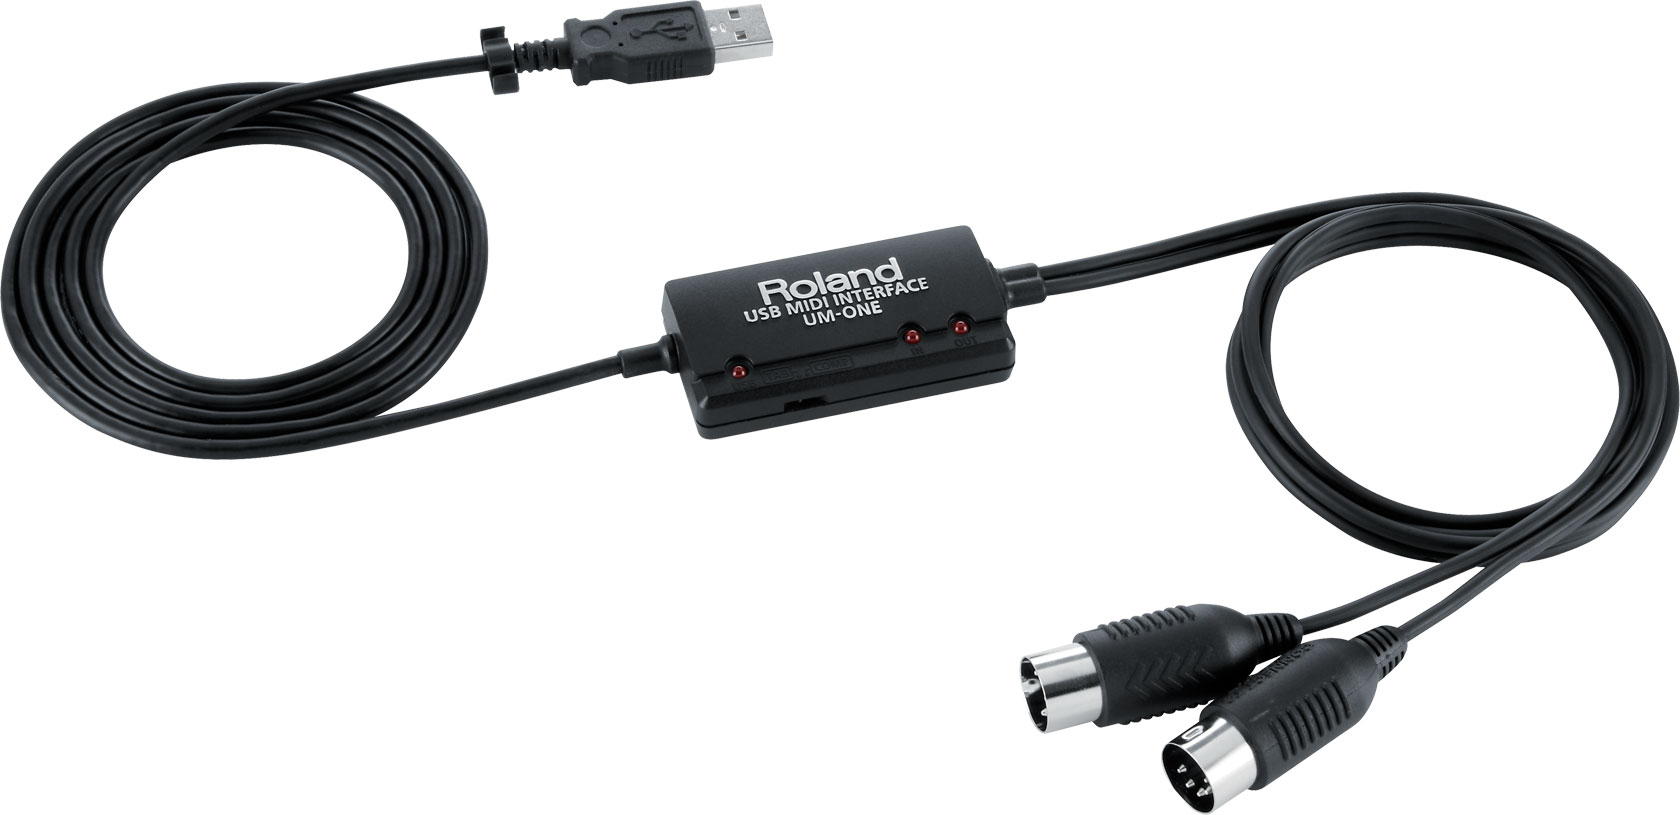
- If your device uses a 5-pin DIN cable, you may need to use a DIN-to-USB converter or interface. (fig.1)
Fig. 1. 5-pin DIN MIDI to USB interface. UM-ONE mk2.https://www.roland.com/us/products/um-one_mk2/
- If your device needs a driver, install it first; many USB-MIDI devices are class-compliant and need no driver. For more information check the user manual of your device.
2. Connection
- USB: Connect the device to the computer (directly or via a powered hub).
- 5-pin DIN: MIDI OUT of the device → MIDI IN of your audio/MIDI interface; connect the interface to the computer via USB (see fig.1).
- Bluetooth MIDI: Put the device in pairing mode and...
macOS: Open Audio MIDI Setup → Window › Show MIDI Studio → Bluetooth and connect.
Windows: Settings → Bluetooth & devices → Add device to pair. For BLE-MIDI routing, you can use Microsoft’s BLE-MIDI Connect app.
Linux: BLE setups vary; if you’re new to Linux MIDI, prefer USB for reliability.
Confirm connection
macOS: Open Audio MIDI Setup → Show MIDI Studio; your device should appear. (You can also create/edit configurations there.)
Windows: After pairing/plugging in, the device will show in your DAW’s MIDI preferences.
Linux (ALSA): List ports: aconnect -l. Inspect incoming data with aseqdump -p <client:port>. Tell your DAW to use it.
3. DAW Setup
- Open your DAW’s Preferences/Settings → MIDI. Enable the device as an input (“Track” or “Input From”).
Fig. 2 Enabling an External MIDI Keyboard (Oxygen 49) in Logic Pro.
- Some DAWs (such as Ableton Live), require that you add a virtual instrument to enable gain, send and receive options (fig.2-3). In the following image, What is missing the MIDI tracks, that the Audio tracks do have?
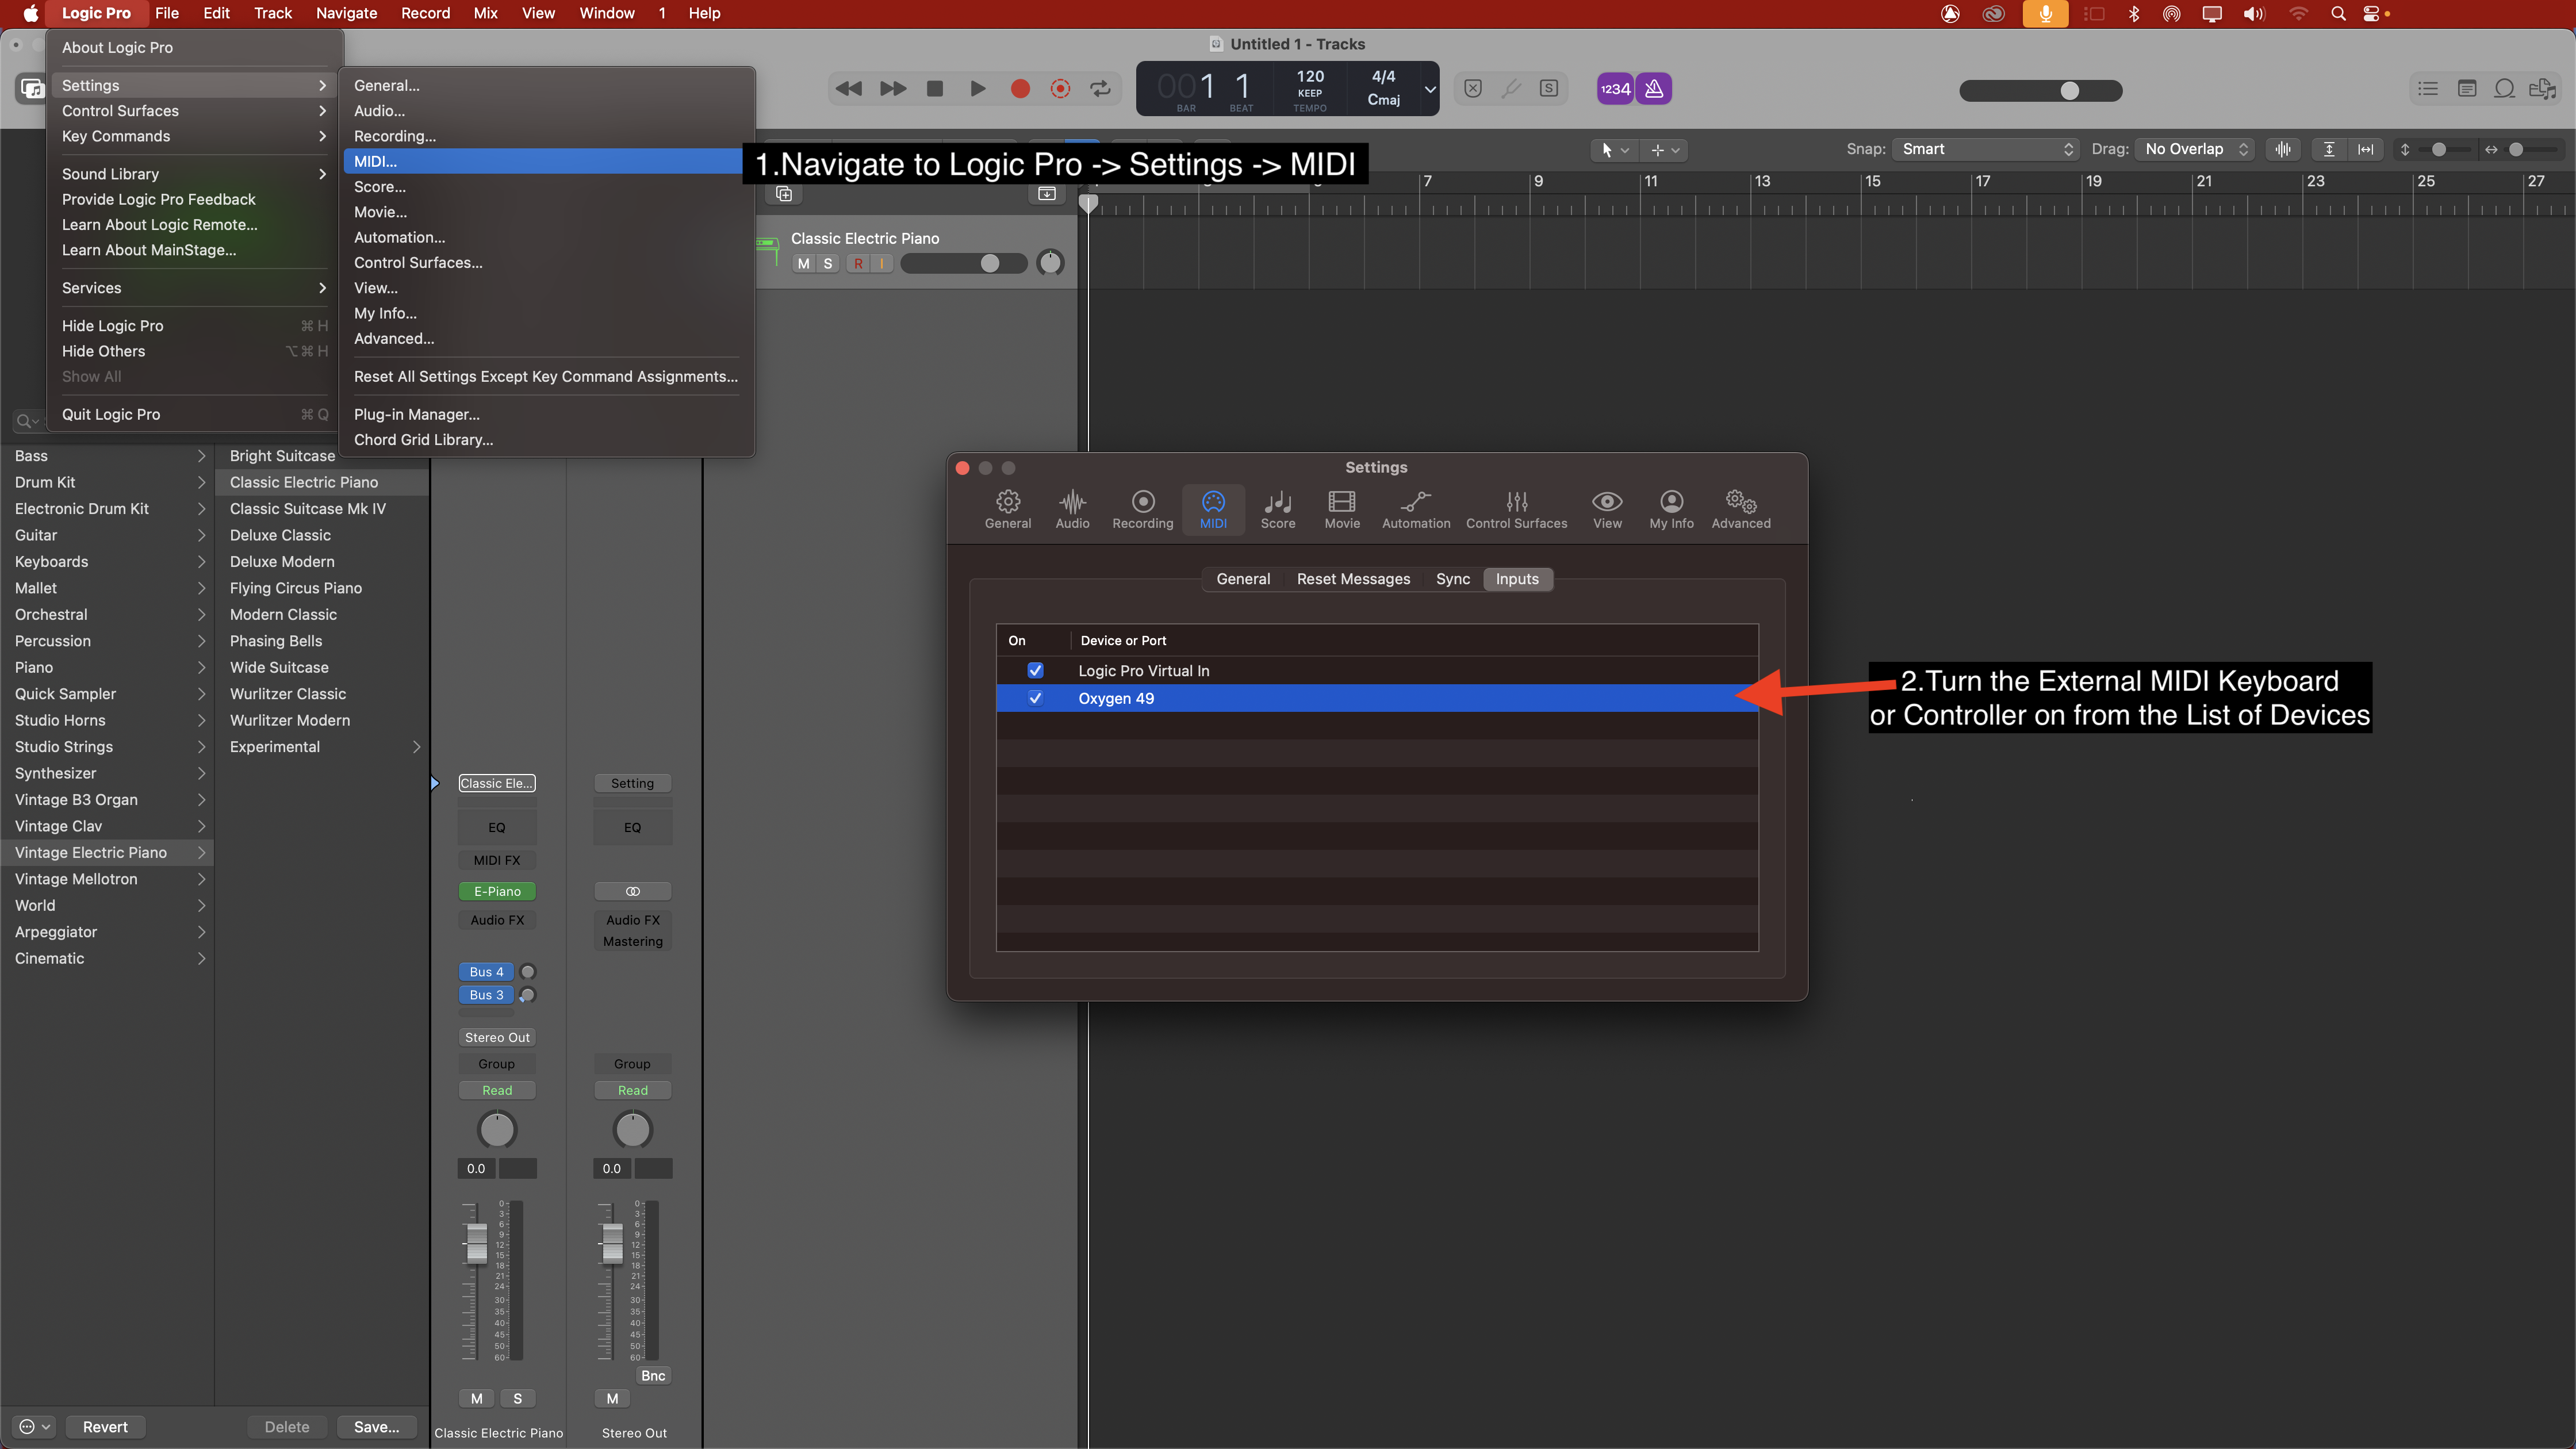
Fig. 3 In Ableton, MIDI tracks without a softsynth will show a disabled gain, output, and sends.
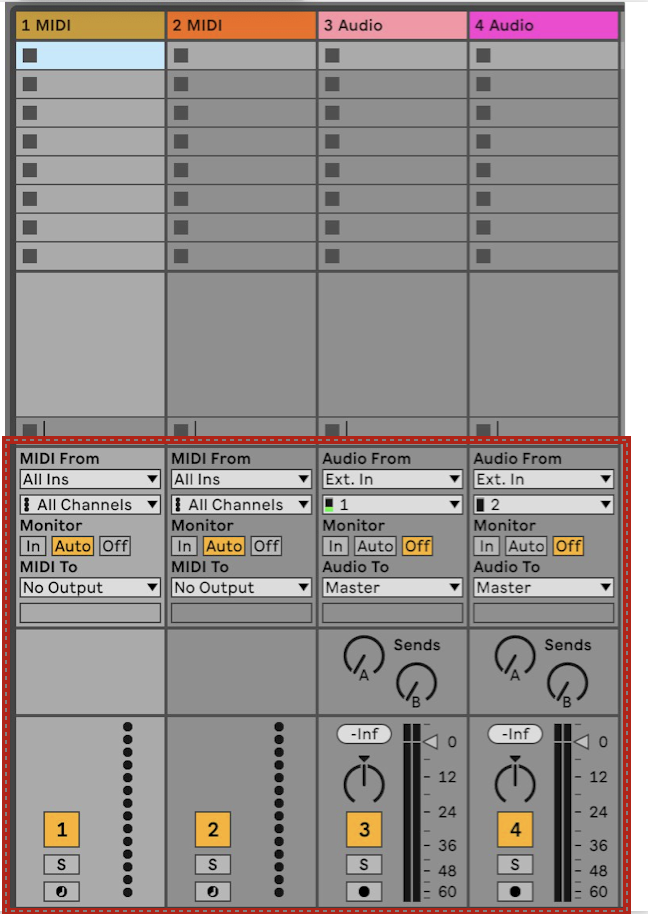
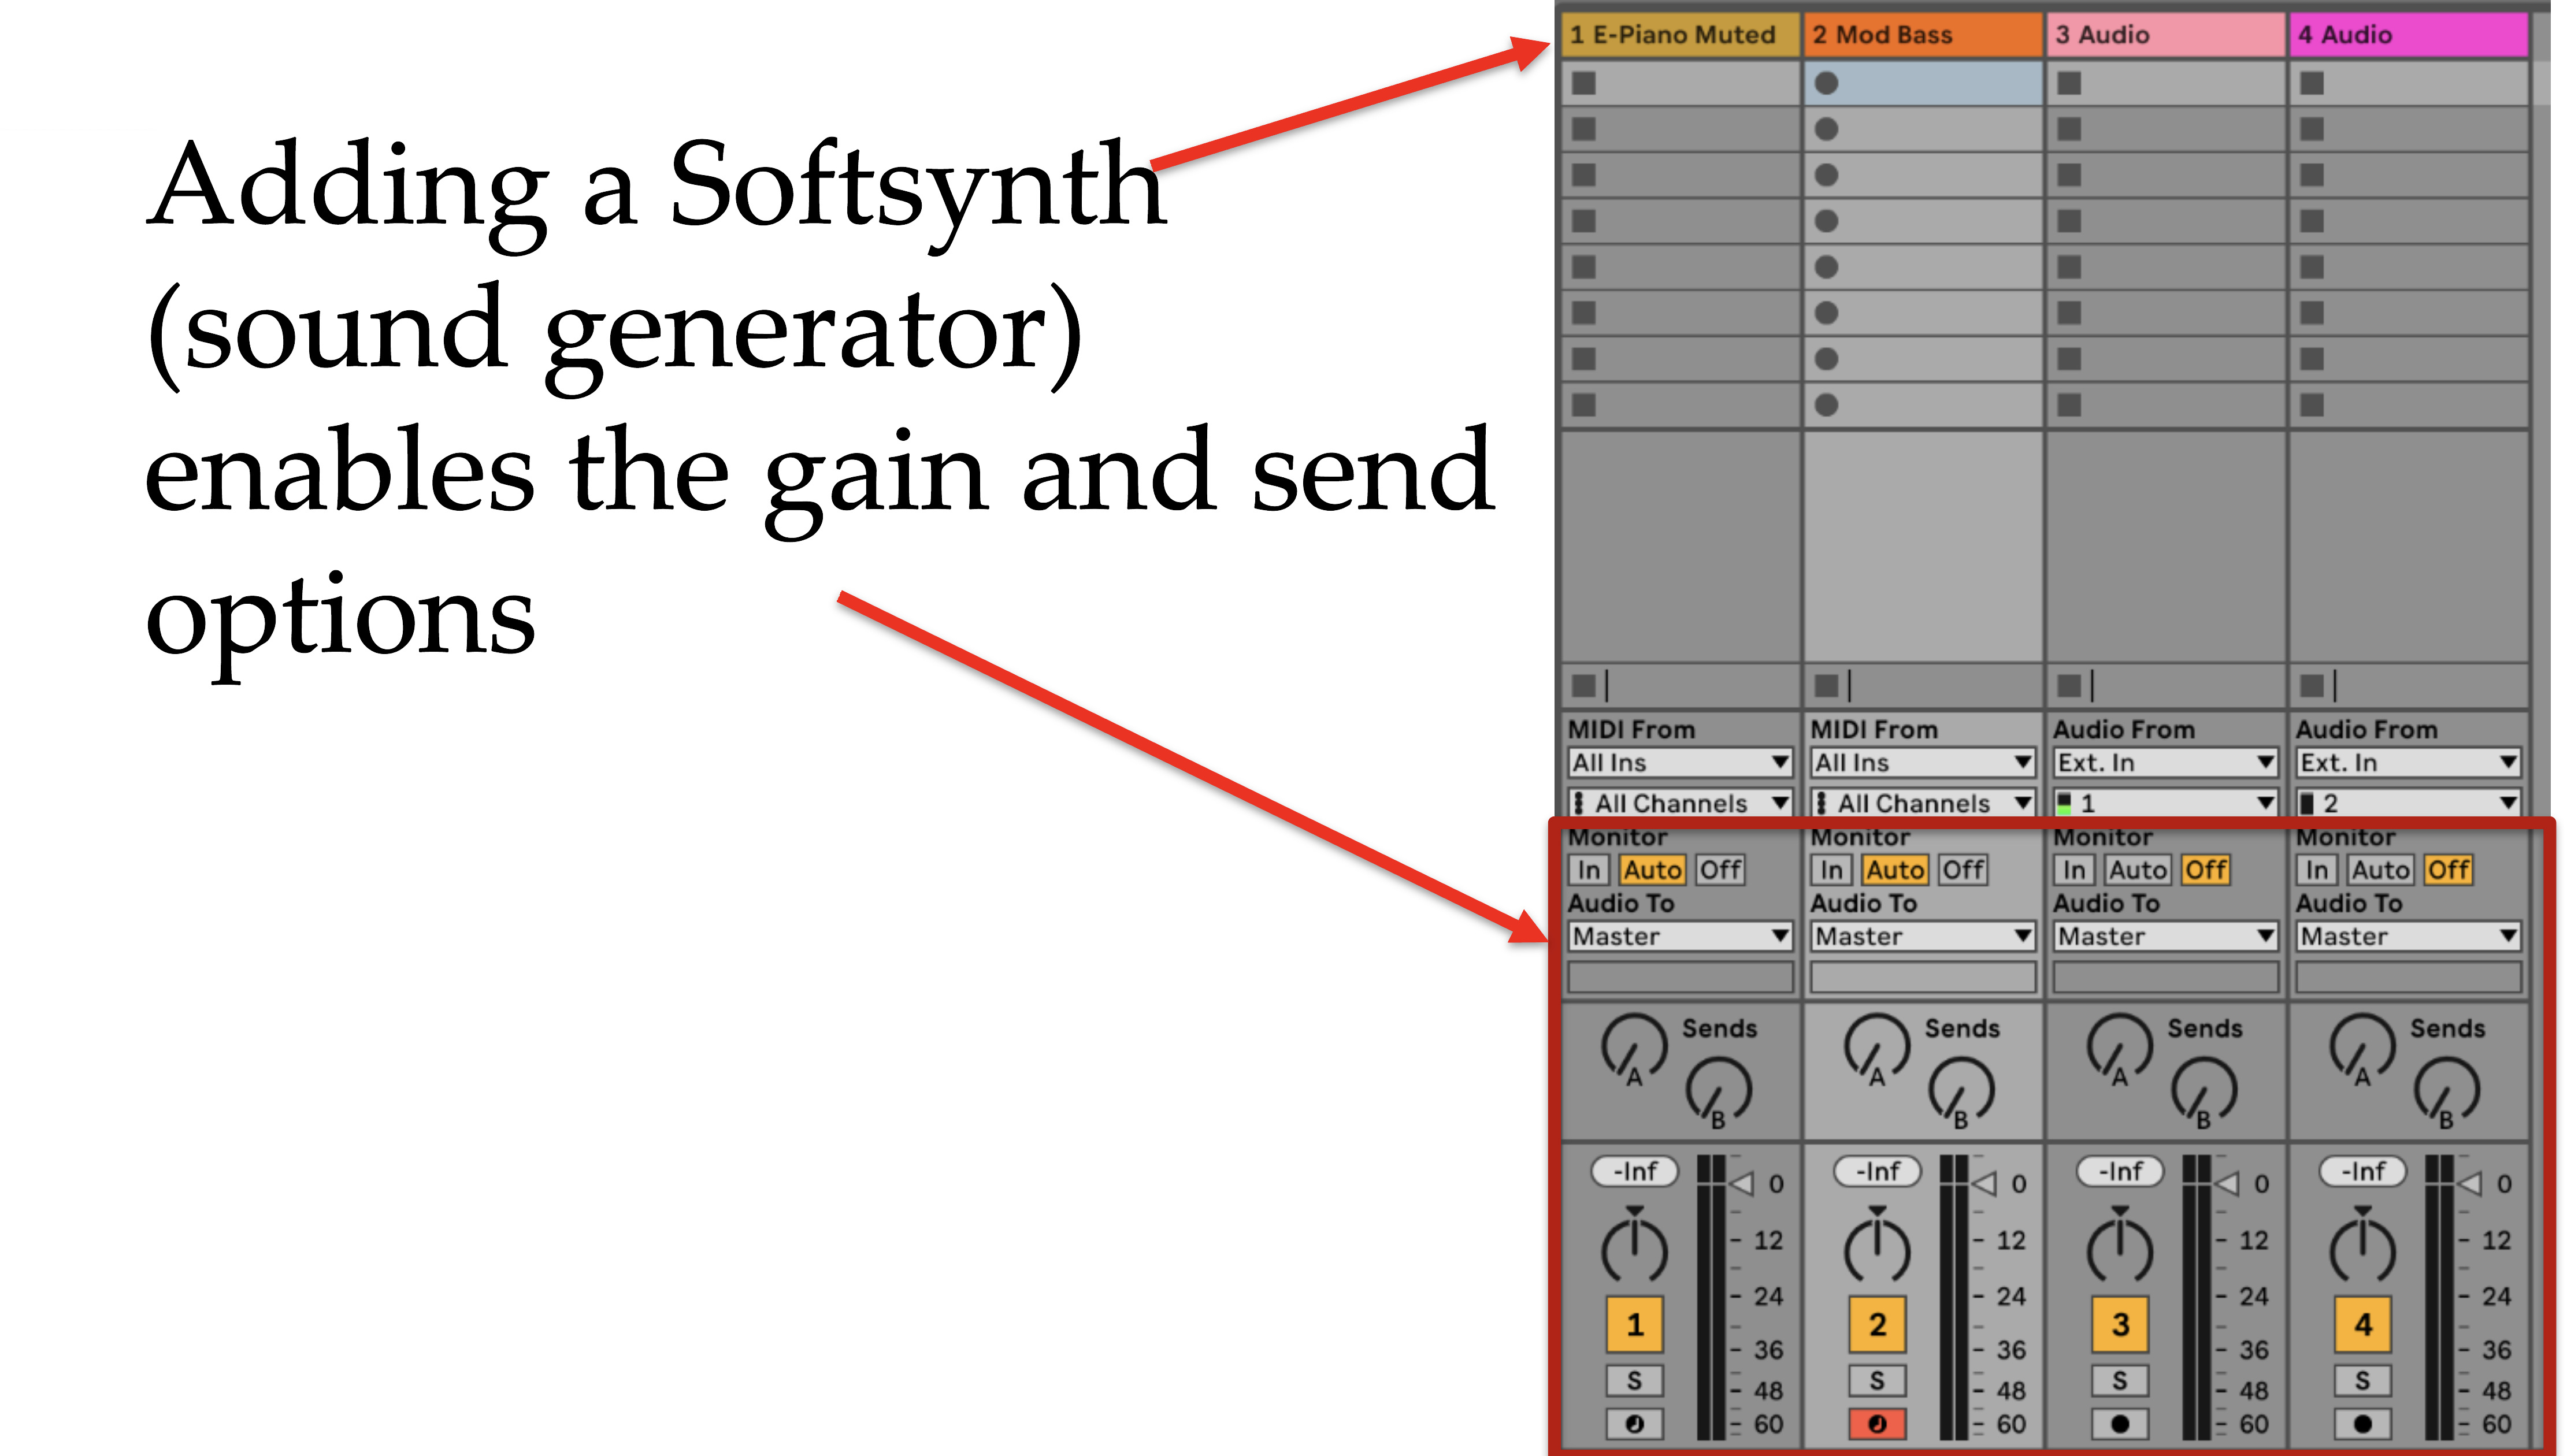
Fig. 4 Adding a softsynth or virtual instrument will automatically enable gain, output and sends on the MIDI track.
- If you want to map knobs/faders, also enable control/Remote on that input; enable output/feedback only if the controller supports it.
- Make a quick test trackCreate a MIDI/Instrument track and load a built-in synth.
- Set input to All Channels (or the device’s channel), arm the track, enable monitoring, and play—your MIDI meter should move. If nothing happens, go back to "confirm connection" and check that any required drivers are installed.
- You can find a step-by-step tutorial about sequencing MIDI on Ableton Live in the Academic Resources section of this Guide
4. Drum-Pad Controllers and MIDI Sequencers
- After connecting to your computer, select the mode compatible with your DAW (i.e Live, Logic, Cubase, Reaper, etc.).
- If you cannot find your DAW mode, use Chromatic or Generic modes which work with most DAWs. Then, you can manually map any remaining knob, slider, or pad in the MIDI mapping settings of your DAW (see step 5 below).
- Follow steps 1 -4 of this guide to start playing.
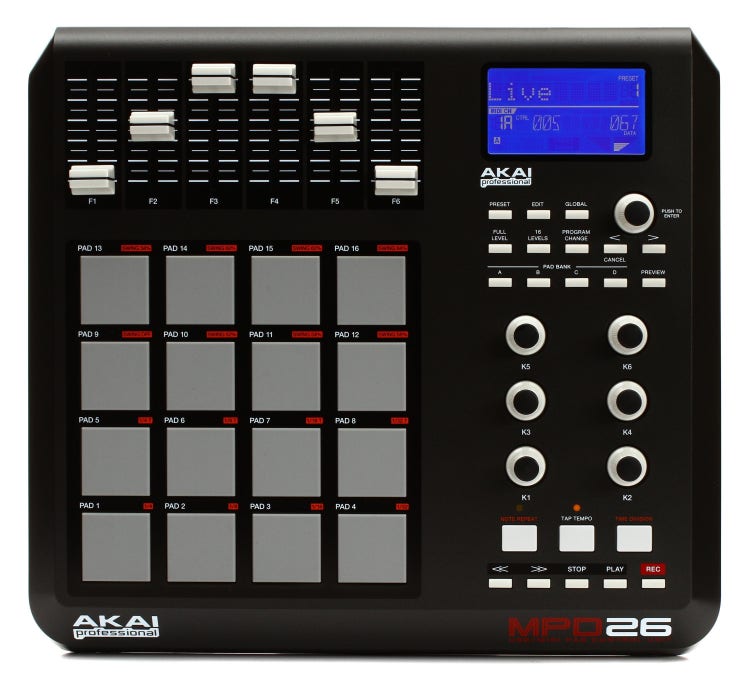
Pad controllers we recommend to use at the LAB
AKAI MPD 26 Pad Controller
M-Audio Trigger Finger Pro

5. Custom-map knobs & pads.
- Enter your DAW’s MIDI Learn/Map mode. Most DAWs will automatically assign a mapping to a MIDI controller as well as add constumized parameter mapping. See the bibliography section below for information on MIDI mapping in the DAWs available at LL02.
6. Syncing multiple MIDI devices
- Clock/transport sync (optional)If you need external devices tempo-locked, enable Sync on the correct port in your DAW:Ableton Live: Preferences → Link/Tempo/MIDI → Sync (In/Out) as needed.
- To route MIDI between apps, enable the IAC Driver in Audio MIDI Setup → MIDI Studio → IAC Driver → “Device is online.”
7. Bibliography: MIDI mapping for DAWs available at LL02
Logic Pro (pages 645 - 657)
Pro Tools (Chapter 10, pages 161-166)