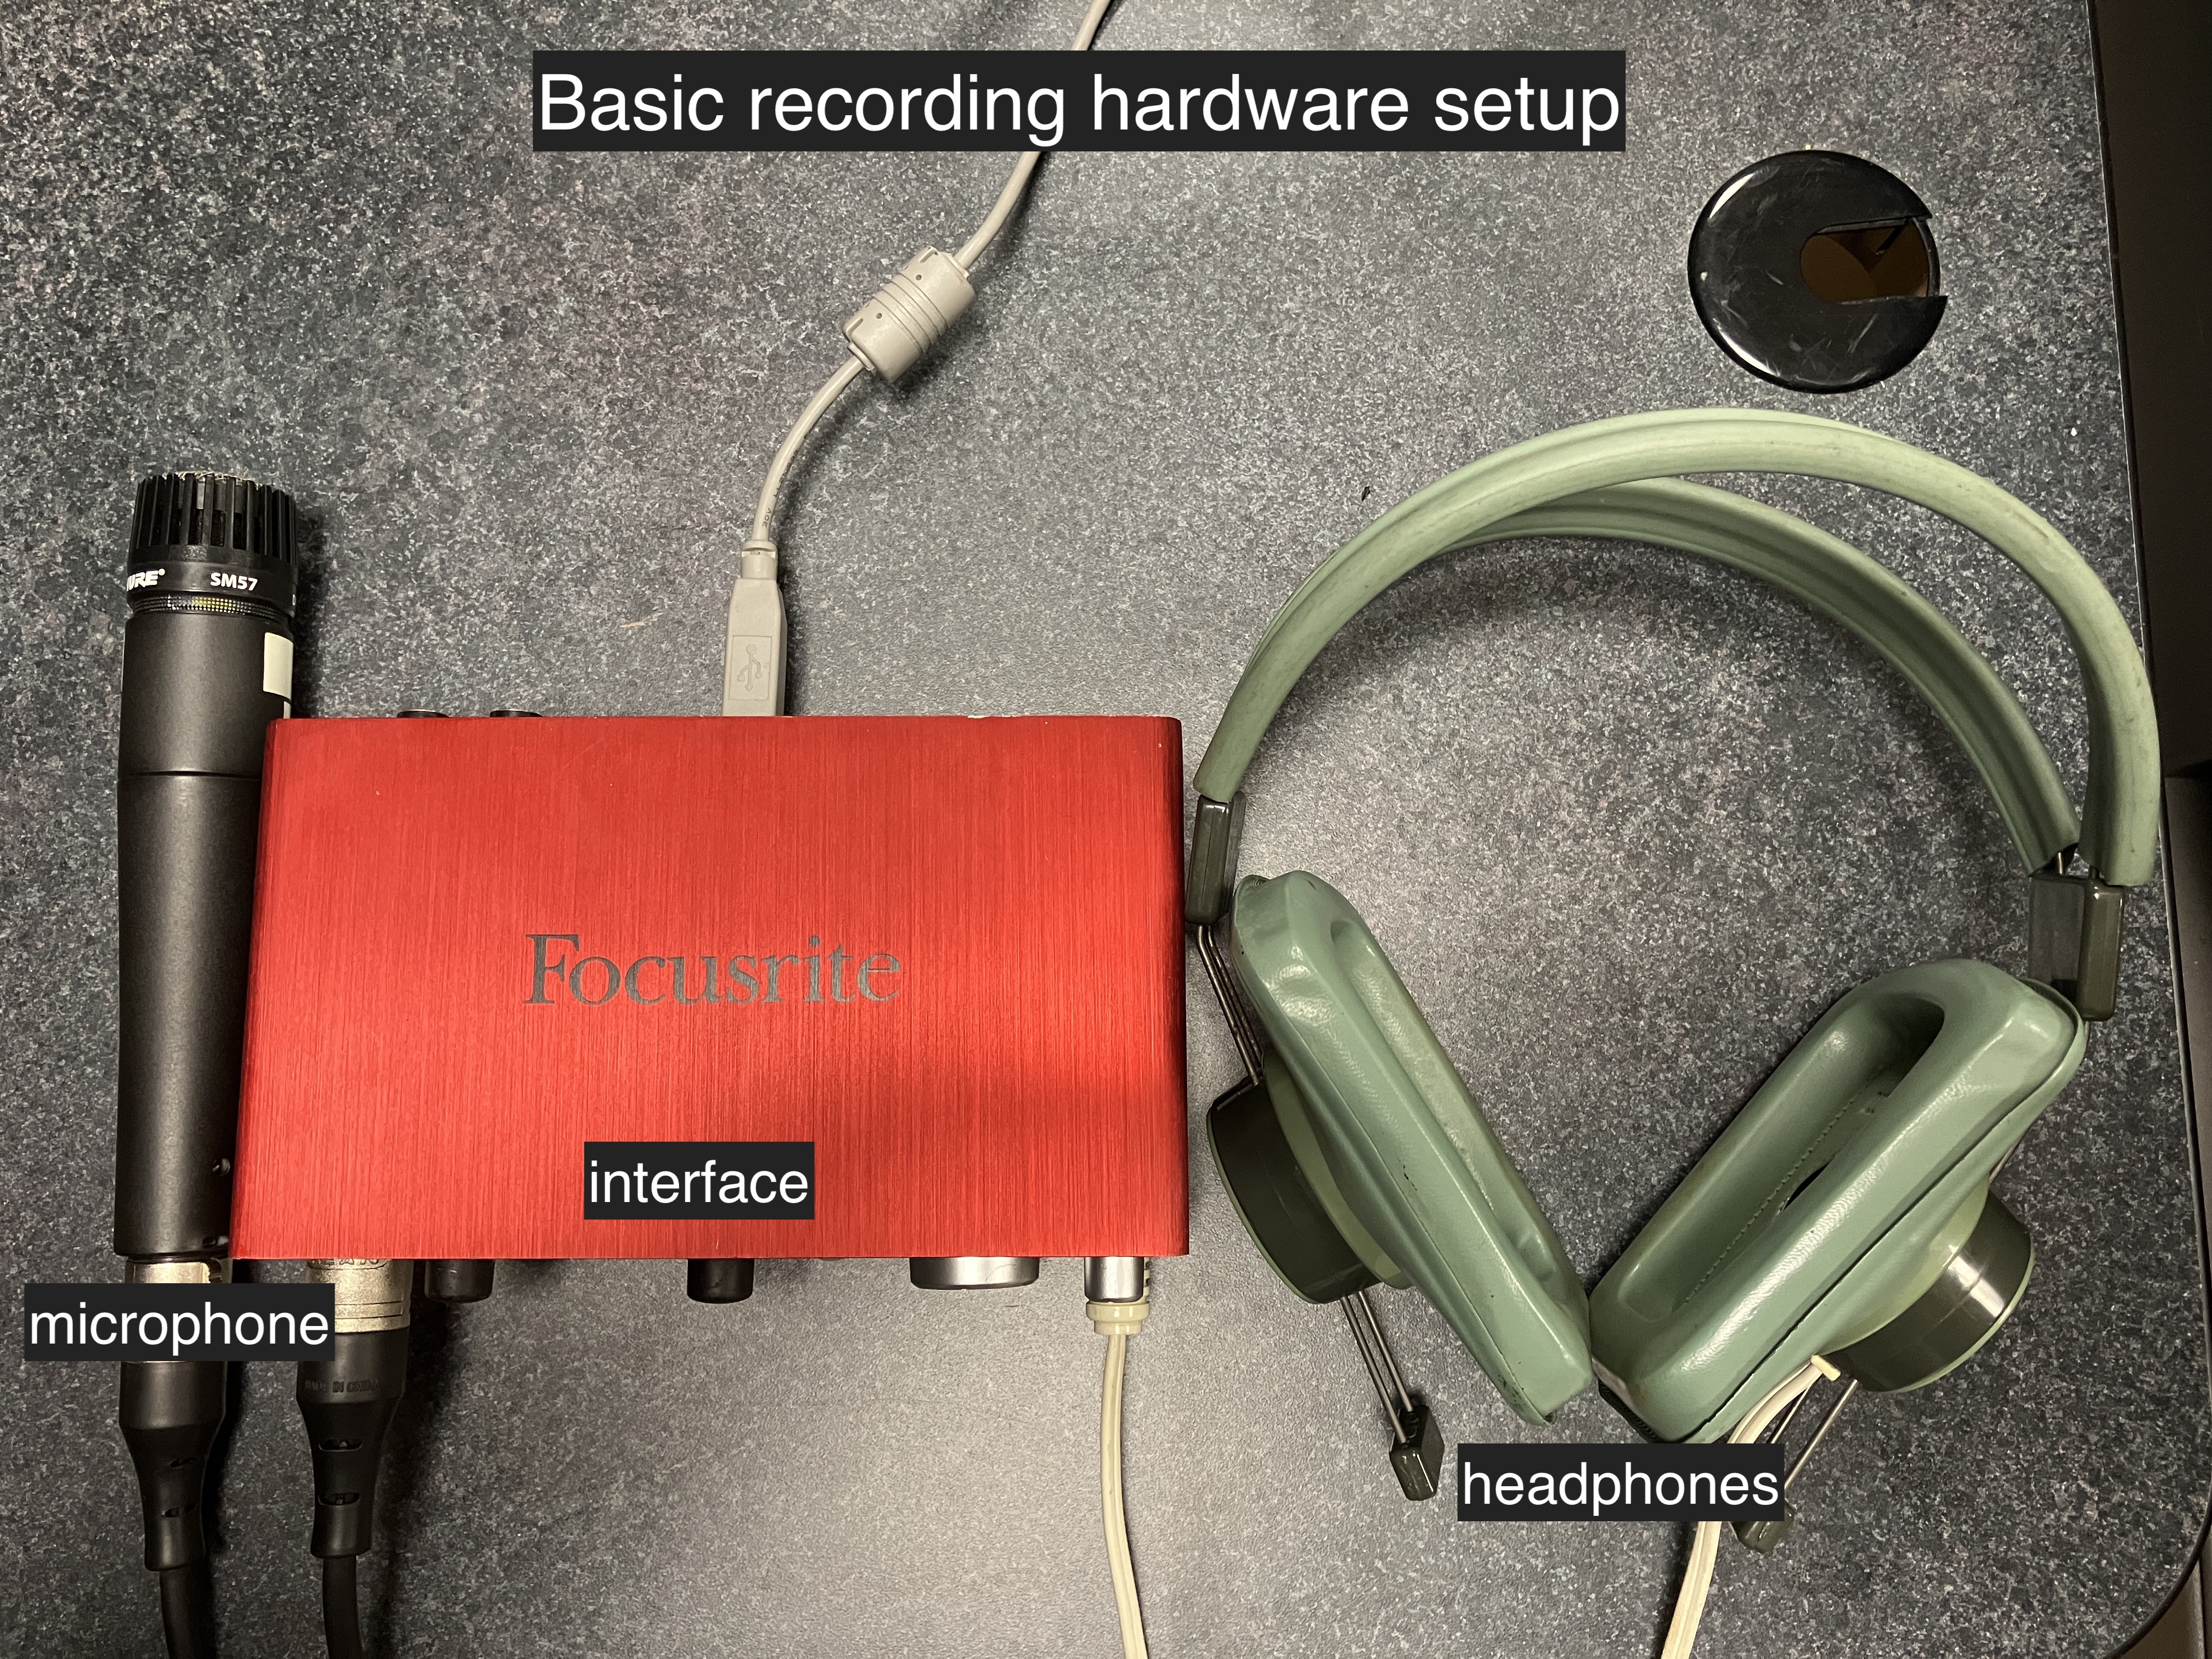
Illustration Summary for a Baisc Recording Hardware Setup
Prepare your DAW Session
DAWs we recommend to use at the Lab
What you'll need
One microphone (dynamic or condenser) for each voice you'll be recording.
One XLR balanced microphone cable for each mic you use (if using a whisper room, the cable must be long enough to reach your interface, do not daisy chain cables).
One microphone stand for each voice you record.
One microphone holder that fits the mic you'll use.
One pop filter for each microphone (pop filters reduce air puff sounds produced by the mouth).
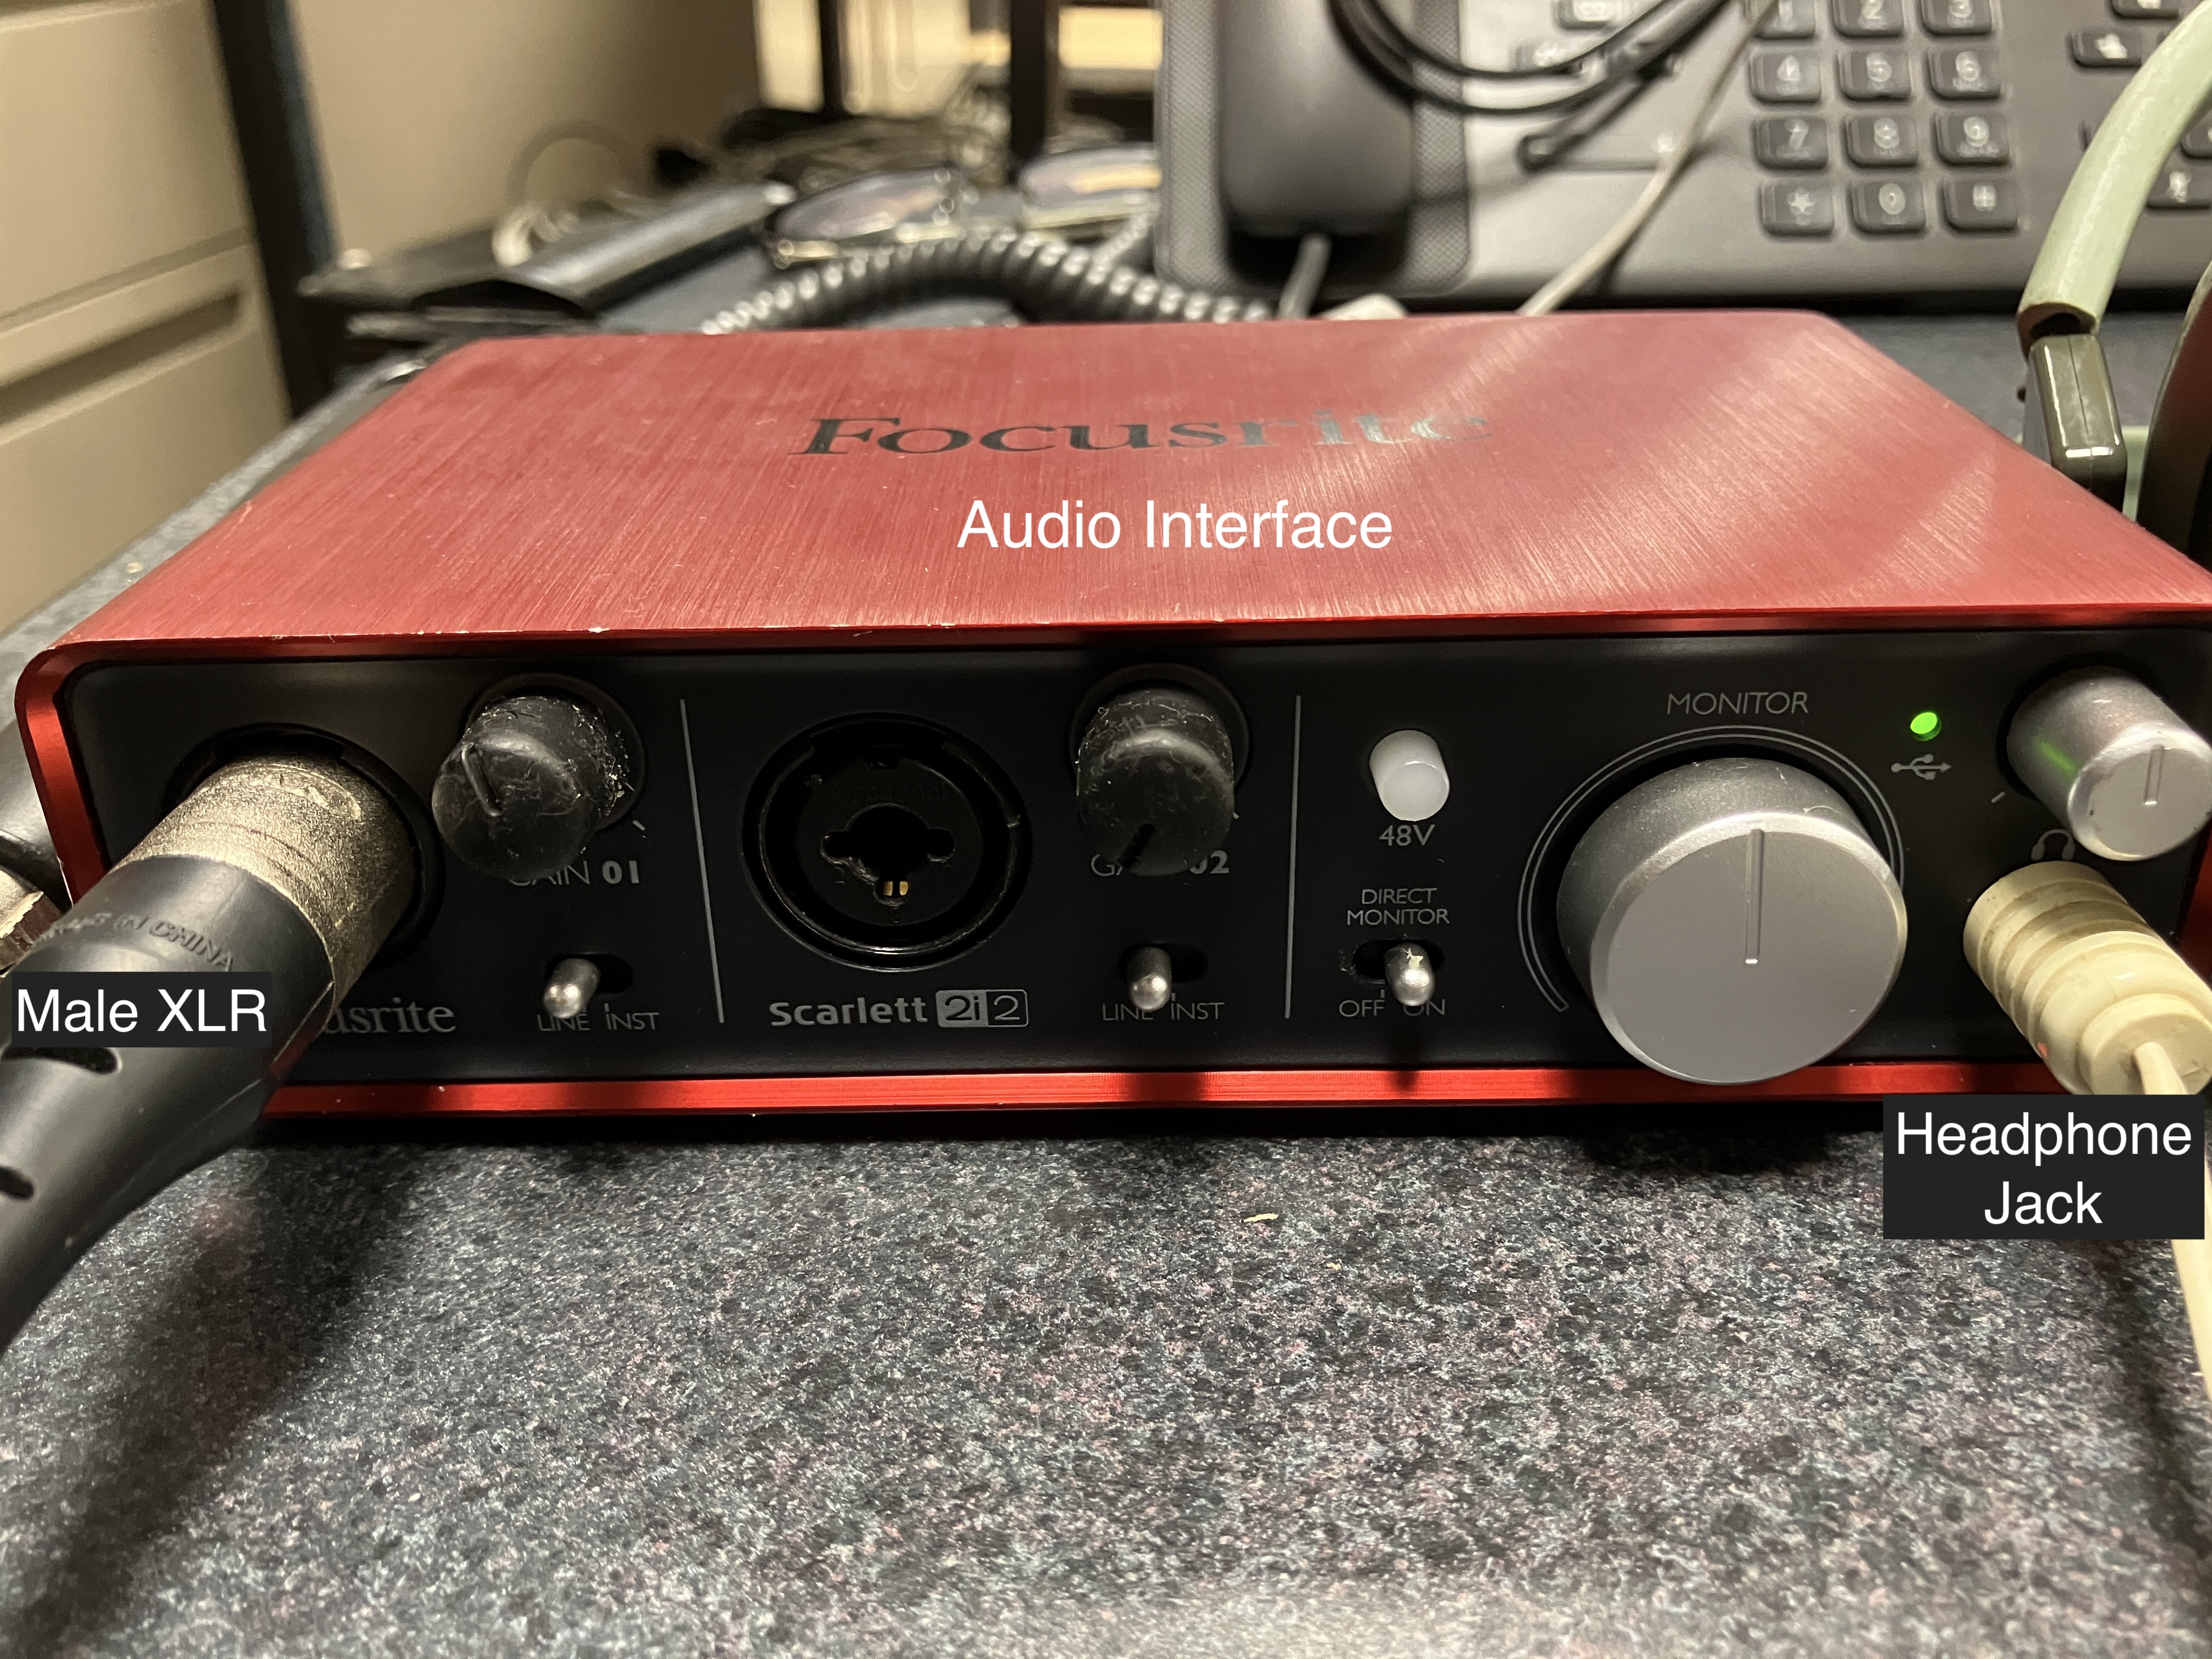
One audio interface with as many inputs as voices you are recording. (The Focusrite Scarlet 2i2 audio interfaces at the lab have only 2 inputs, meaning that you can record two voices at a time.)
One USB B to USB A cable for connecting the interface to the computer (all computers have USB A to USB C adapters.
One Lab computer.
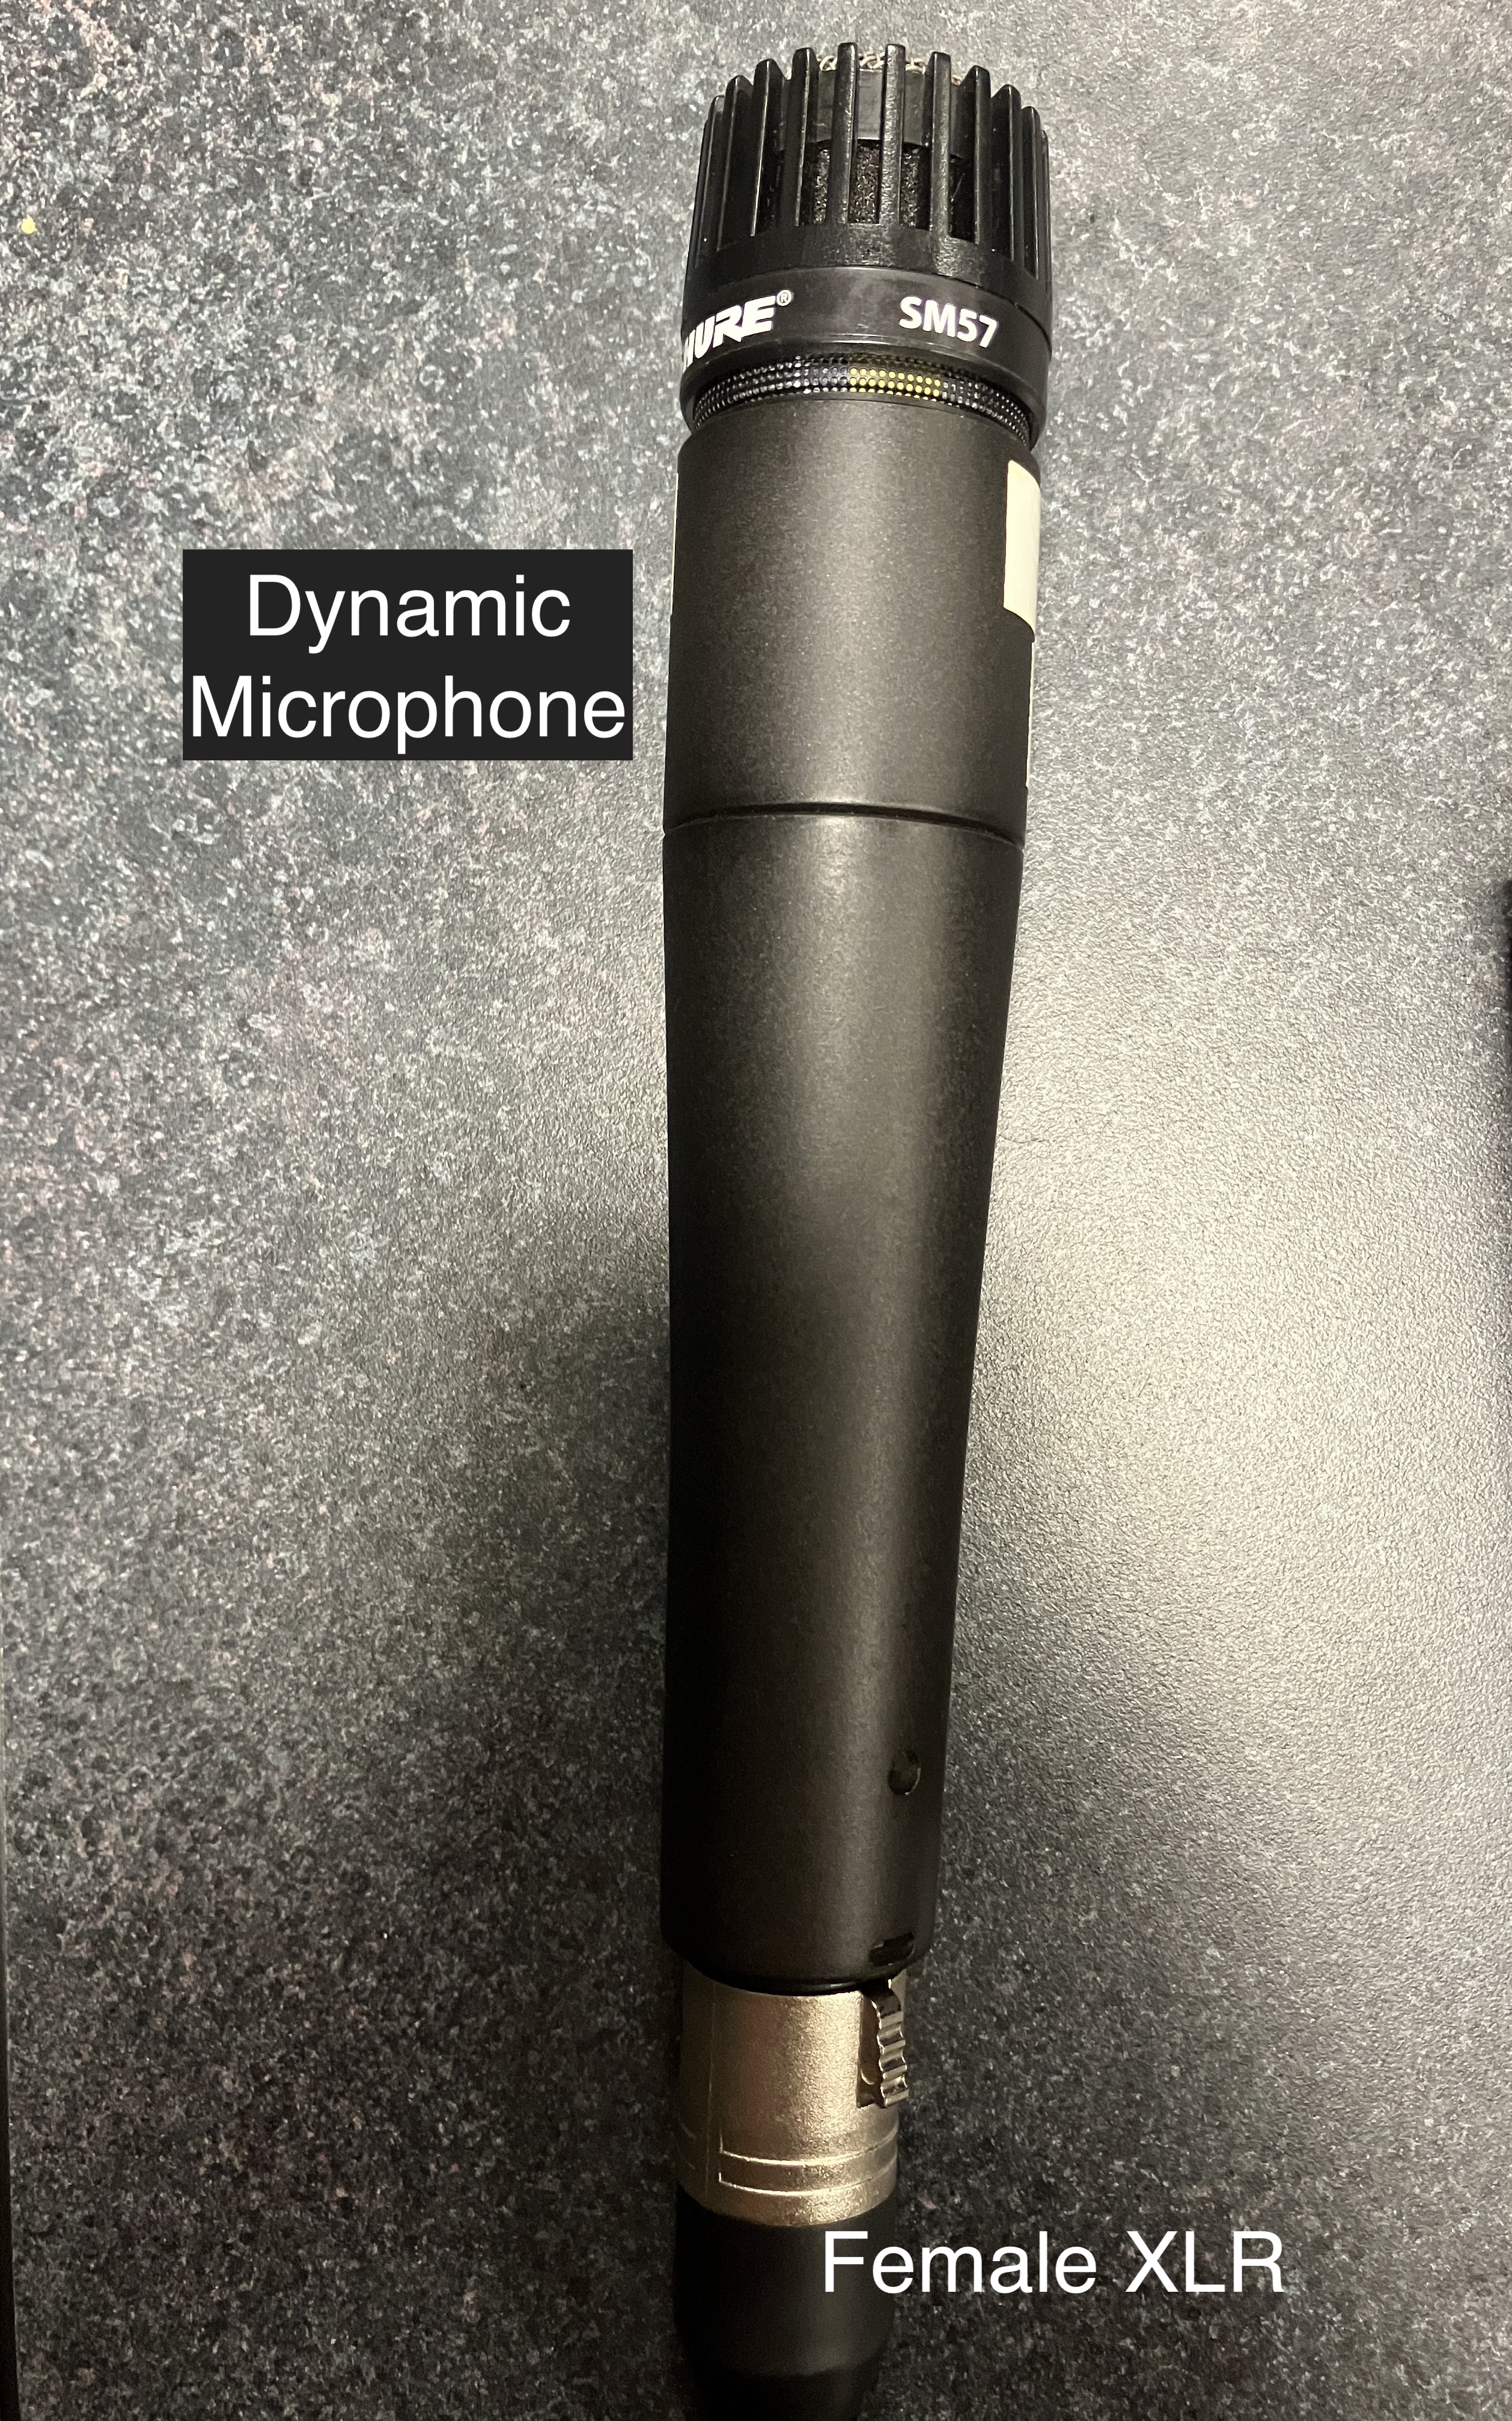
2. Microphones we recommend to use at the Lab
Dynamic: Shure SM58(Doesn't need phantom power. Clean sound, resilient to noise, reliable and stable mic).Condenser: Rode(Requires phantom power, warmer tone, more sensible to noise, perfect for picking up the nuances of the voice).Ribbon: Cascade Fathead Only with instructor's approval (Doesn't need phantom power, vintage warm tone, bright sound).
3. Build your setup
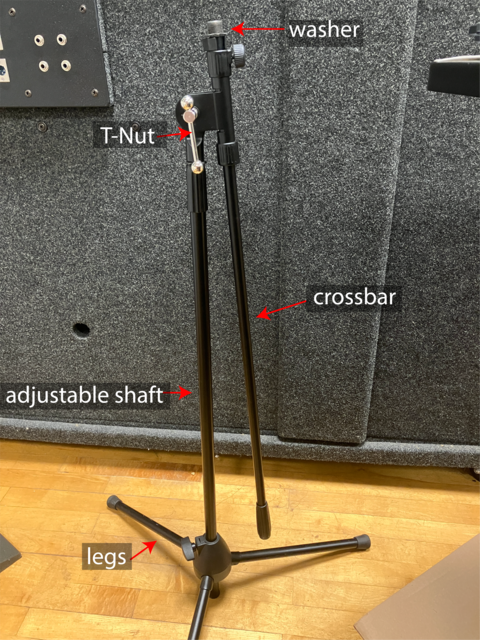
Unfold the microphone stand so the crossbar and washer face upwards. Make sure the stand is very stable. If the stand is rocking, wobbly, or if it starts to slide down, adjust it or change to a more stable mic stand.
Screw the microphone holder on the washer of the mic stand.
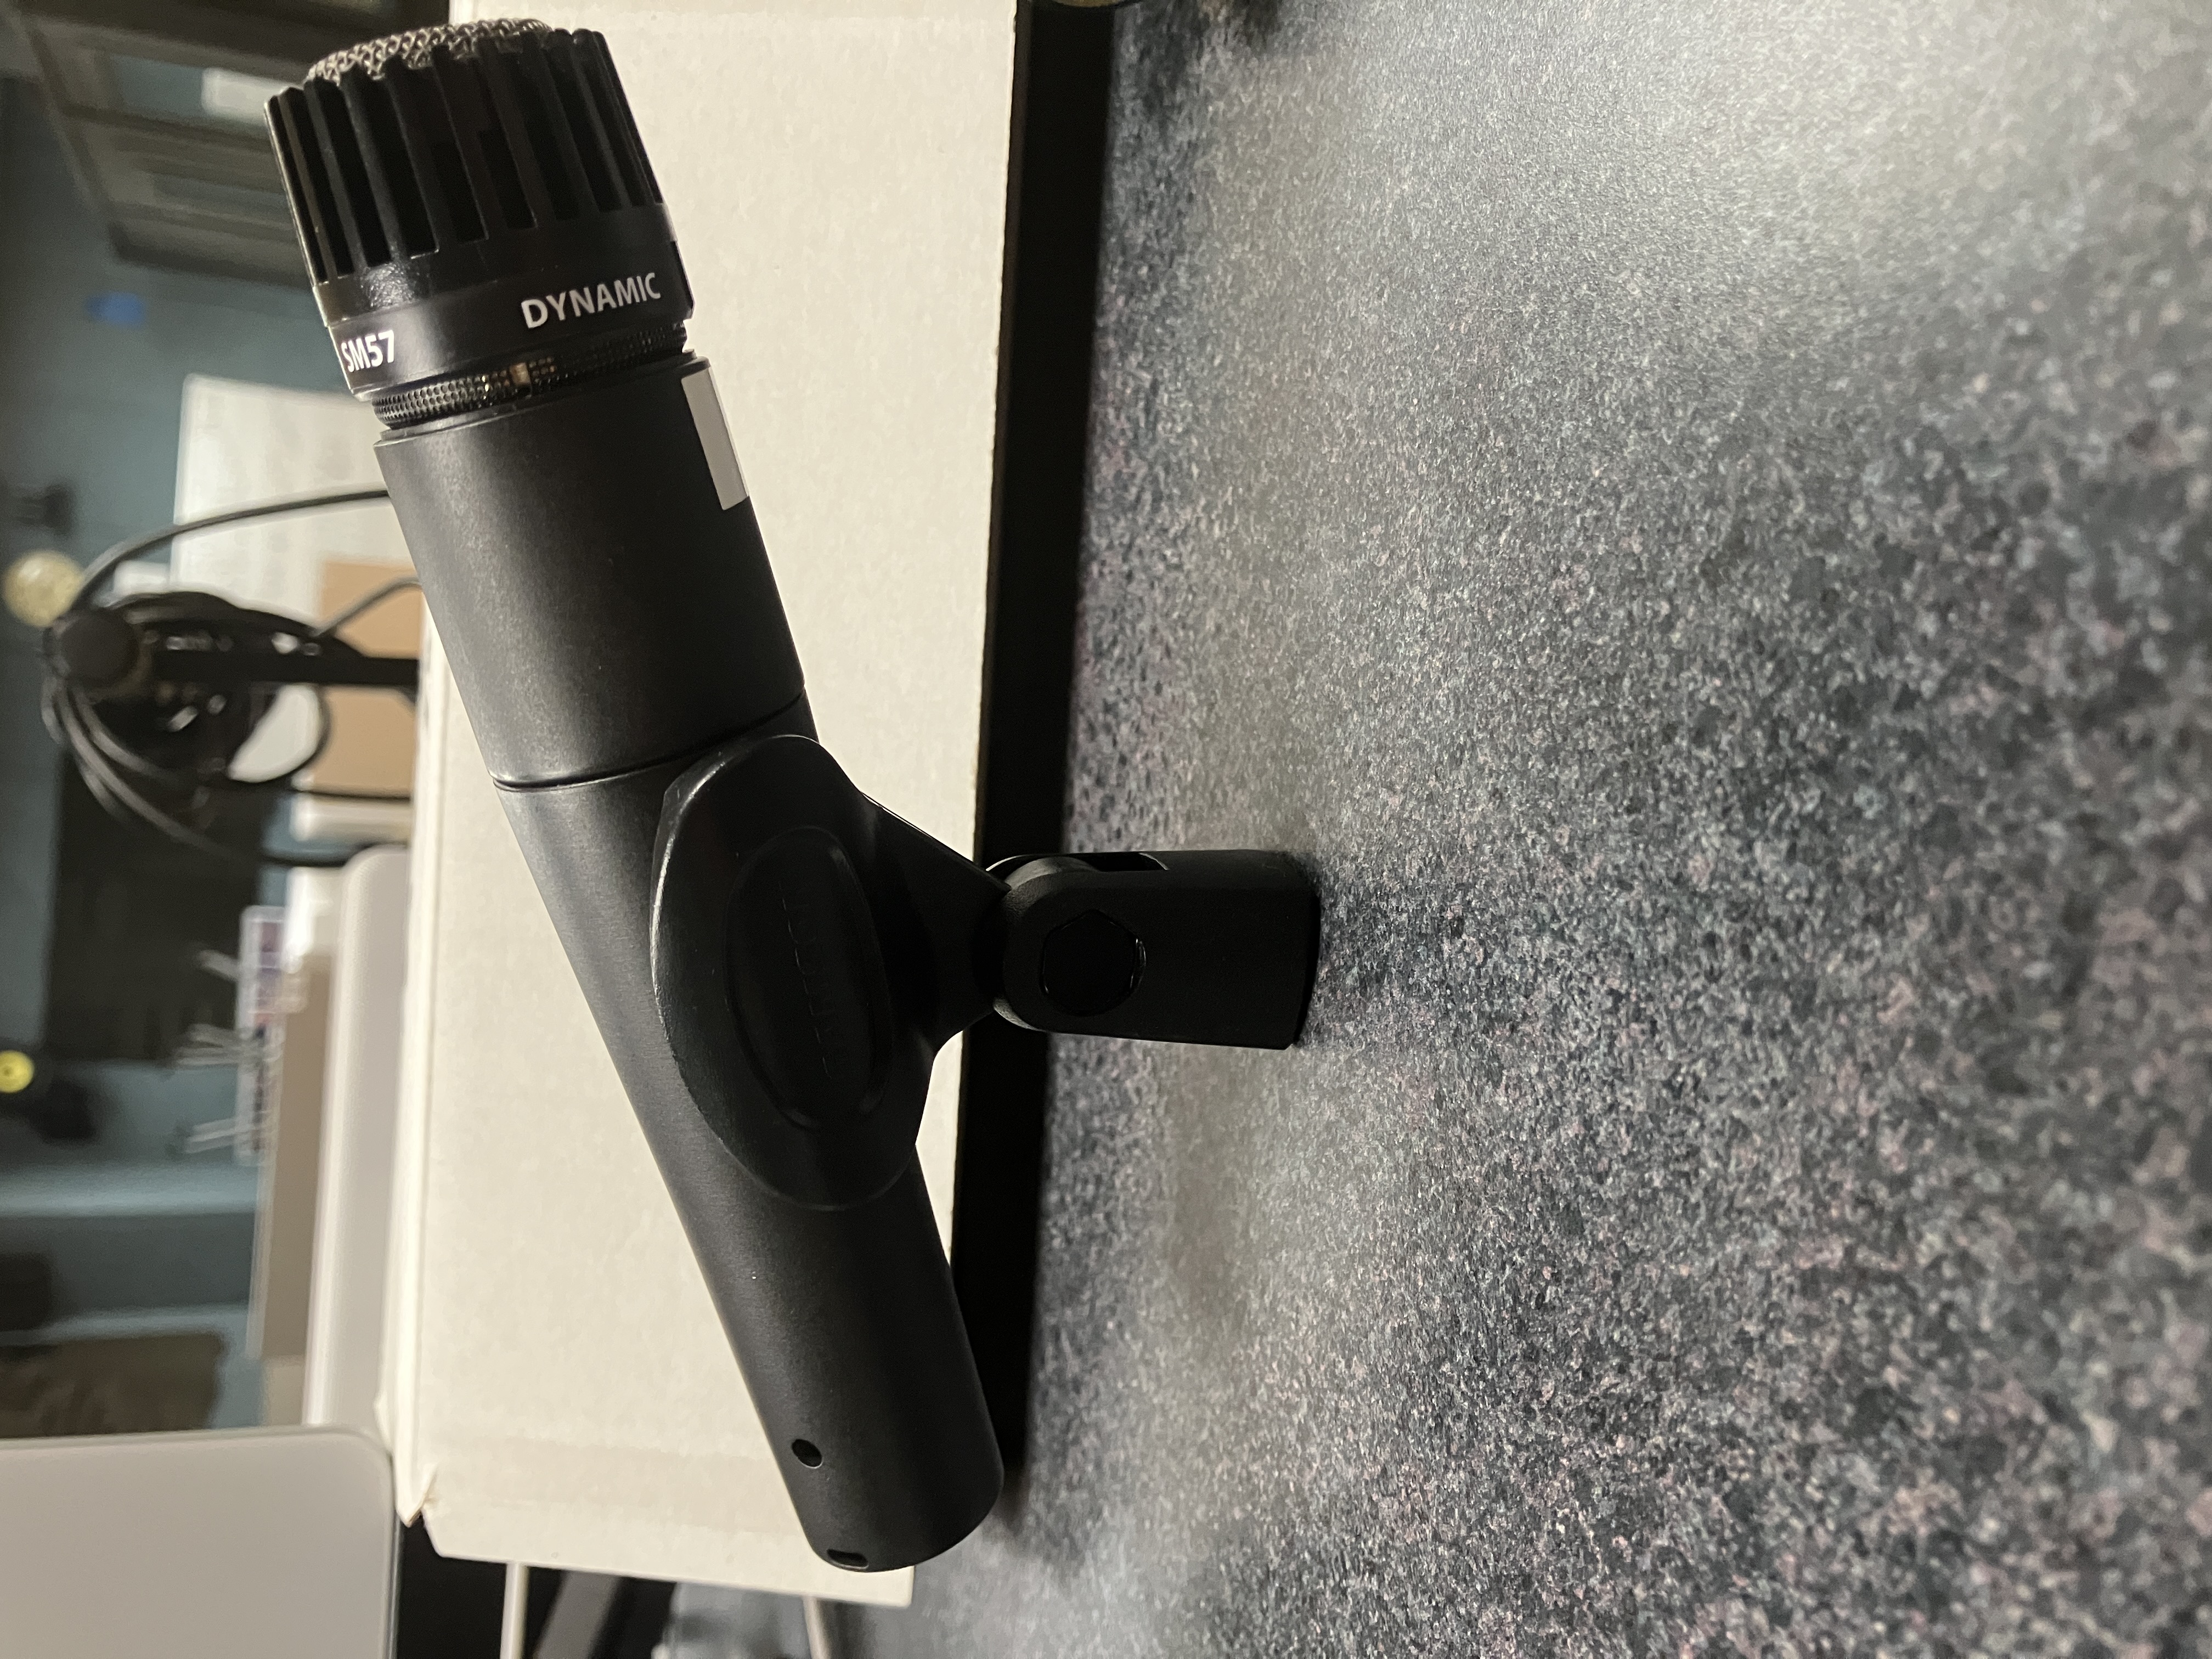
Place the microphone on the holder. The microphone holder needs to fit the microphone perfectly. If its too loose, the microphone can slide down and fall, damaging the mic irreversibly. If it's too tight, the microphone won't fit or it will be slowly push outward by the holder, causing it to fall.Microphone Holder (too small)
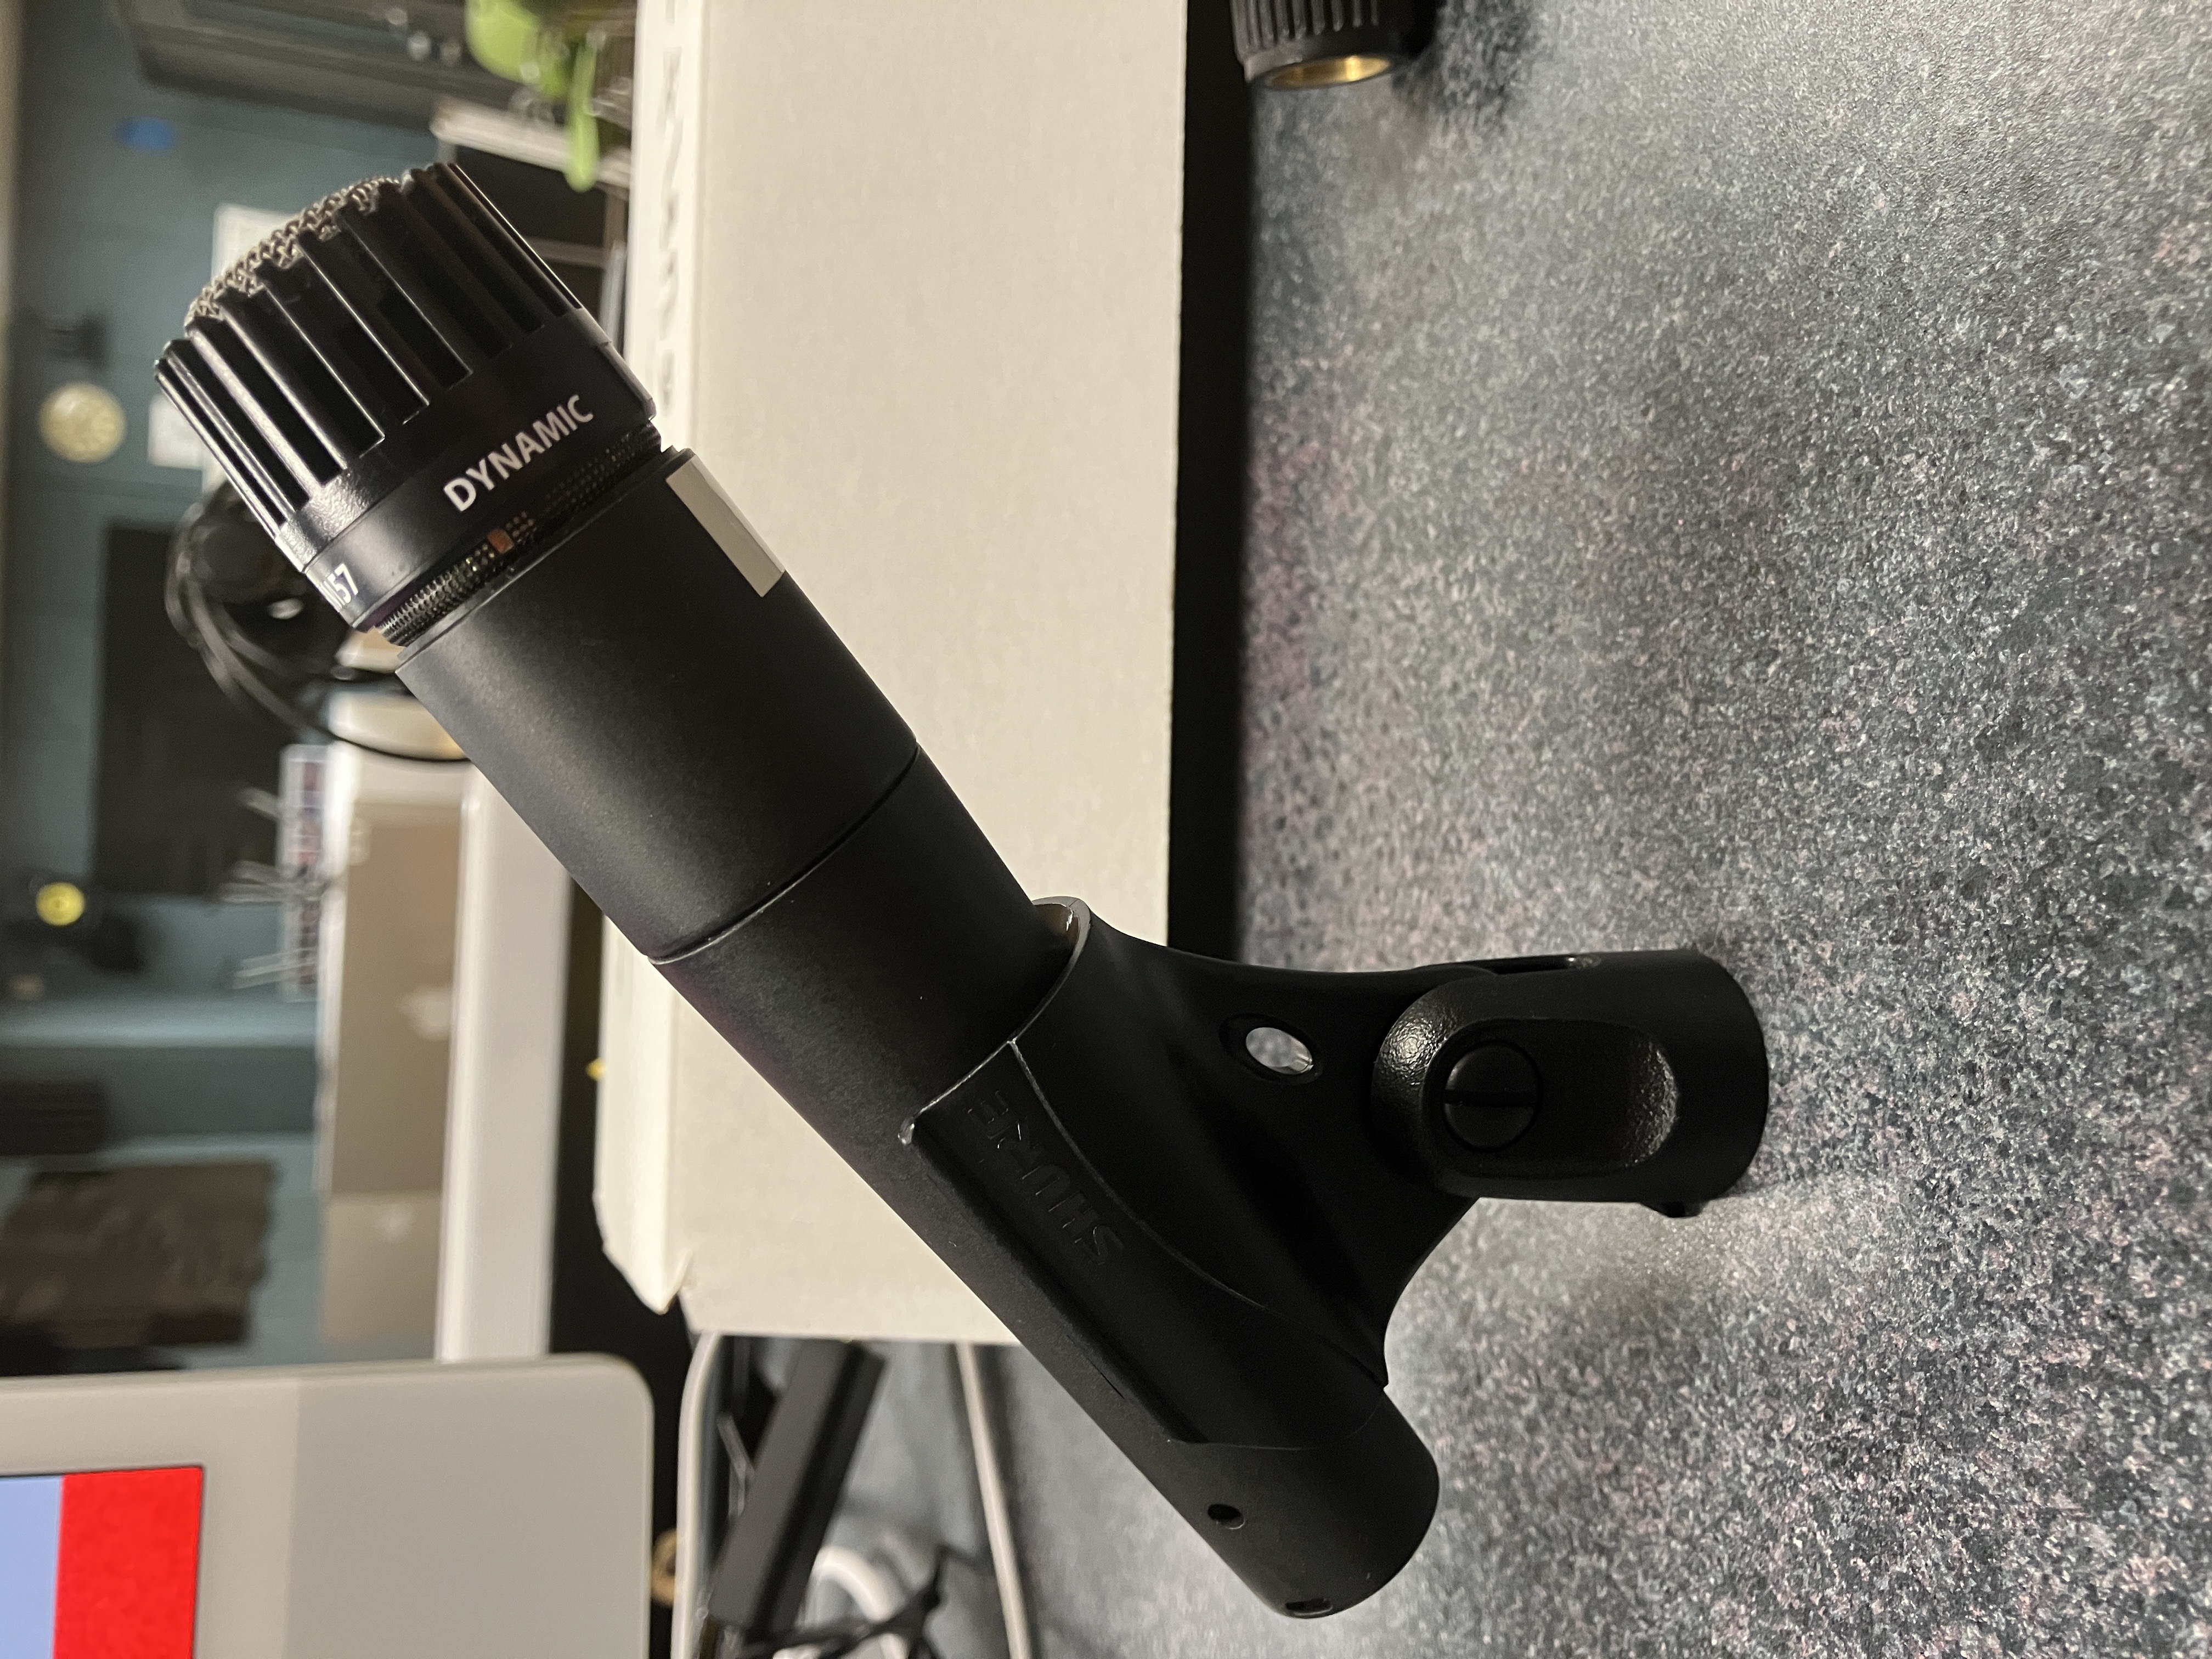
Microphone Holder with a good fit
Connect the female end of the XLR cable to the mic.
Connect the male end of the XLR mic to input 1 on your interface.
Adjust the shafts and crossbar of the mic stand to fit the hight of the person you're recording. The mic should not be too low or too high. A good distance between the voice and the mic is one handwith apart.
Attach the pop filter to the mic stand so that is between the mic and the voice.
Repeat the steps above if you with to connect a second microphone to the interface. This time, connect the male end of the XLR mic to input 2.
Connect the interface to the computer.
4. Illustration Summary for a Basic Recording Hardware Setup
5. Prepare your DAW Session:
DAW Setup Example (Logic Pro):
On your interface, turn the headphone volume control to about half-way up.
Turn on the gain of each microphone input about half-way up.
If you're using the Rode mic (Condenser) you'll need to press the +48V button so it turns red. This activates phantom power. If you're not using a Rode mic, skip this step.
Make a mic check test by counting to 10, monitor the gain on your DAW and with your headphones. If the sound is too soft, increase the gain on the microphone input. If the microphone input is clipping (if the light on the interface and the DAW is read everytime you speak into the mic), decrease the gain. The loudest sound you record should peak at around -6dB.
Adjust your headphone level to something that is comfortable for you and lets you listen to the microphone input fully.
Make a test recording and ensure all inputs are being recorded at an appropriate volume.
Congratulations! You're ready to start your recording.